


 robbyoso.eth
You may have found yourself here because of an event, an artist hookup, a walk about town, or through one of our retail partners.
At any point, you may land on one of the following components of the application:
Anyhow, let’s get you set up and moving about the app to fully take advantage of what the app has to offer!
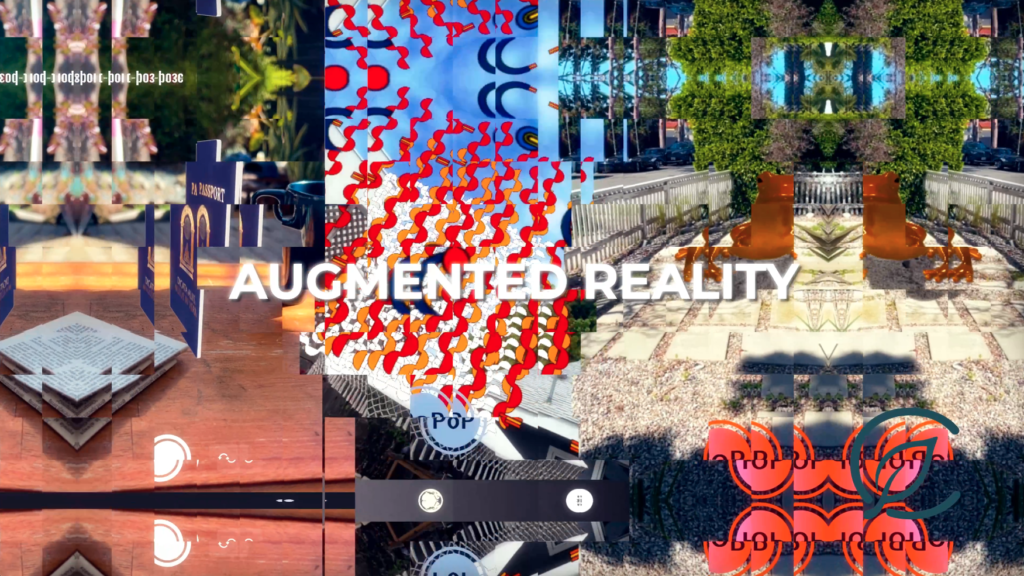
The core of the illust experience is the AR or augmented reality experience. The following are the 3 core components of the AR experience:
Confirm the motion, location, and camera permissions on your device by tapping on each box. For most iOS devices, the location has been auto-turned off. If this is you, we crafted a series of videos showing you how to resolve the location, motion, and camera permissions.
Once permissions are on, a “Tap to Place” button will appear (we’re working to make this text more vibrant). We recommend scanning the floor with your phone (as AR looks for light and surfaces) and then tap your screen to activate the AR experience. You will see a bar at the bottom loading if you have low service.
After you’ve completed the permissions and the placement you should now be confronted with the augmented reality experience! For most experiences you can resize the experience by pinching the screen with your index finger and thumb as well as move the experience around your domain with a tap elsewhere on the screen.
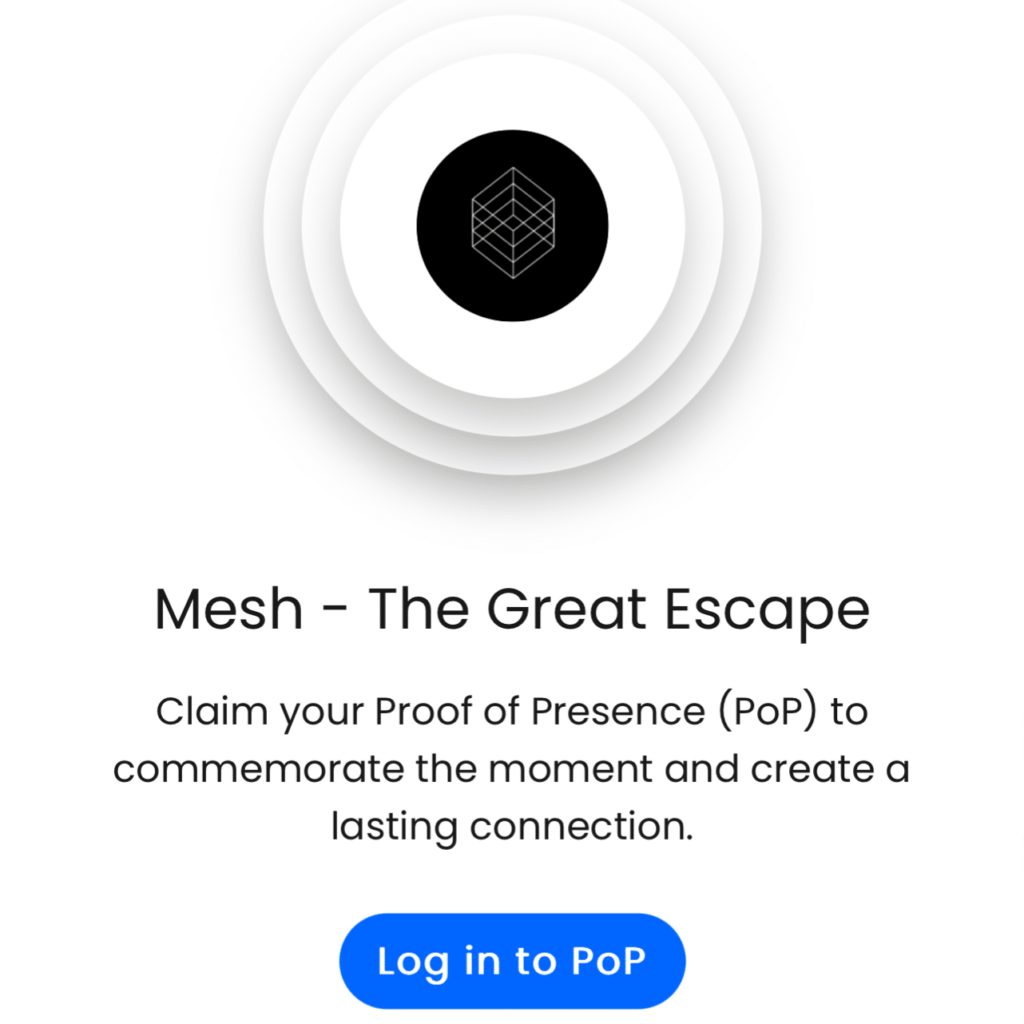
As a visitor to the Illust application, their will be opportunities for you to claim rewards in the form of tokens and proofs of presence. The following is a bit more on the visitor flow for claiming a token and what you can do with them:
Some experiences give you the opportunity to claim a digital collectible, NFT, or other reward. If your experience is claimable, tap the “PoP” button. Tap “Log In to PoP” to see the login & account setup flow. Account creation is through either phone, email, or web3 wallet using one of our partner’s “Magic”.
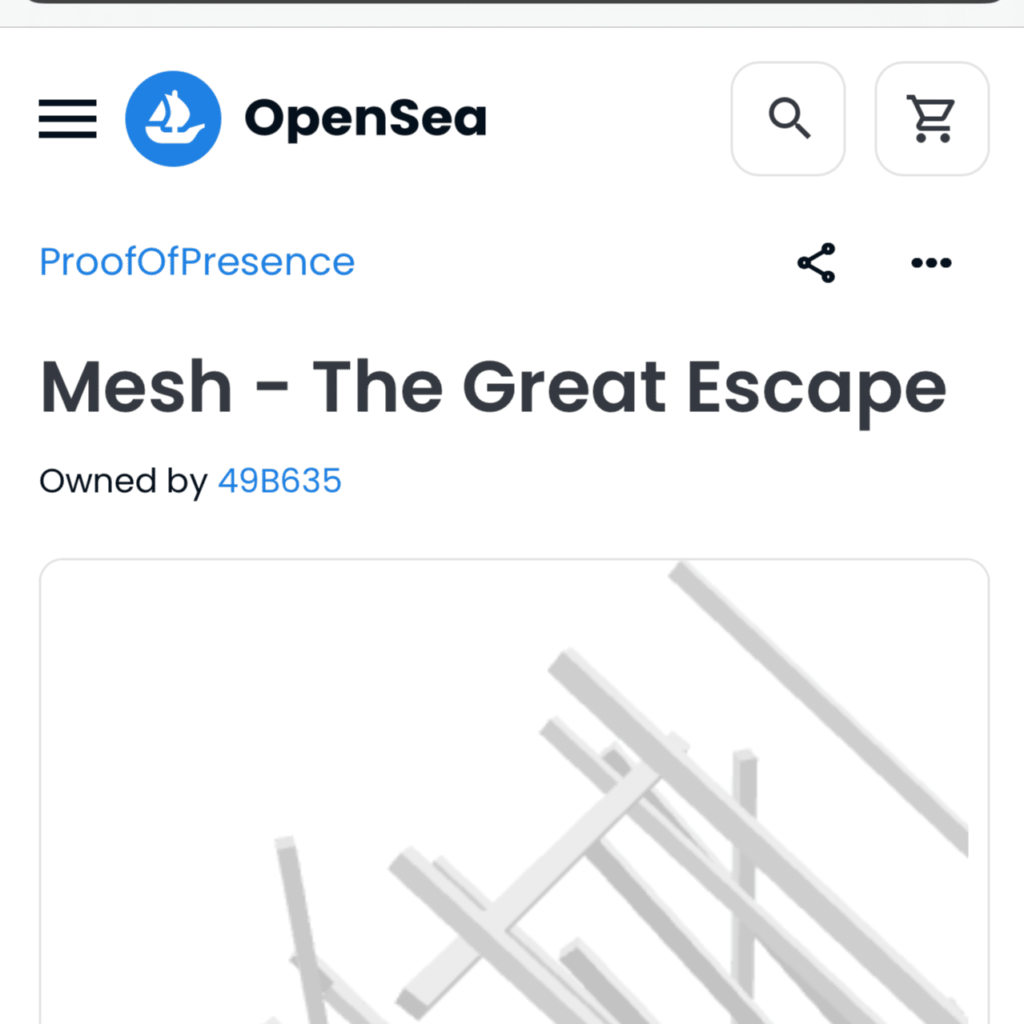
Congrats, you’ve created an account, now it’s time to claim your token by tapping claim your PoP. This will take 10-15 seconds (as it is activating the Polygon network) to generate the token. You can view the tokens you’ve claimed by selecting the collection tab in your user profile.
Tokens are also viewable on OpenSea and with certain partners, are used to gate access to shopify stores, secret maps, and much more. If you created an account with a phone number, email, or Twitter auth and you would like to use your token for one of these “gated benefits”, you will need to merge your user account with metamask. No worries, we created a guide.
The map is the backbone of the app. In fact, it’s what makes us a “mapplication”. The following are some of the key concepts behind navigating around the map.
Find where you are on the Mesh map by tapping the arrow button. Once you’ve oriented your map you can see the different pathways and points of interest.
At any Point of Interest on the map, tap the “Discover in AR” button to navigate into an augmented reality scene or more info to learn more about the given waypoint.
If signed in, at each step in your journey through a channel or through any given “Layer” or “Quest”, you can find a list of all of the experiences you’ve either viewed or claimed tokens.
If you’re on this section, that means you’re part of the pilot program we’re running with the Quest section of the application. The “Quest” product is being updated weekly so some things may look slightly different then what’s spelled out below:
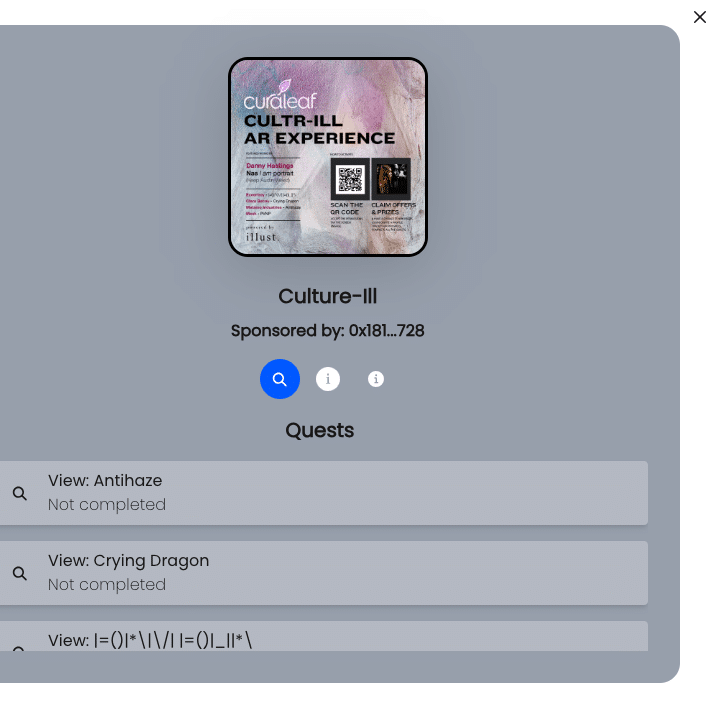
Layers are a collection of experiences under a single topic, concept, partners, or category. To visit a layer, look for the tiles at the bottom of the screen (some maps do not have attached layers). Tap the 3 dots in the top right corner to activate the layer information modal.
The layer modal is your central hub of information and progress for any given quest you might be on. The “i” button in the middle can be tapped to reveal rules, challenges, progress, rewards, and access requirements. Tap the magnifying glass to be transported to any of the locations on the map.
We really appreciate your use of the illust application. If you have any questions, screenshots, or have some feedback, please don’t hesitate to reach out to [email protected].